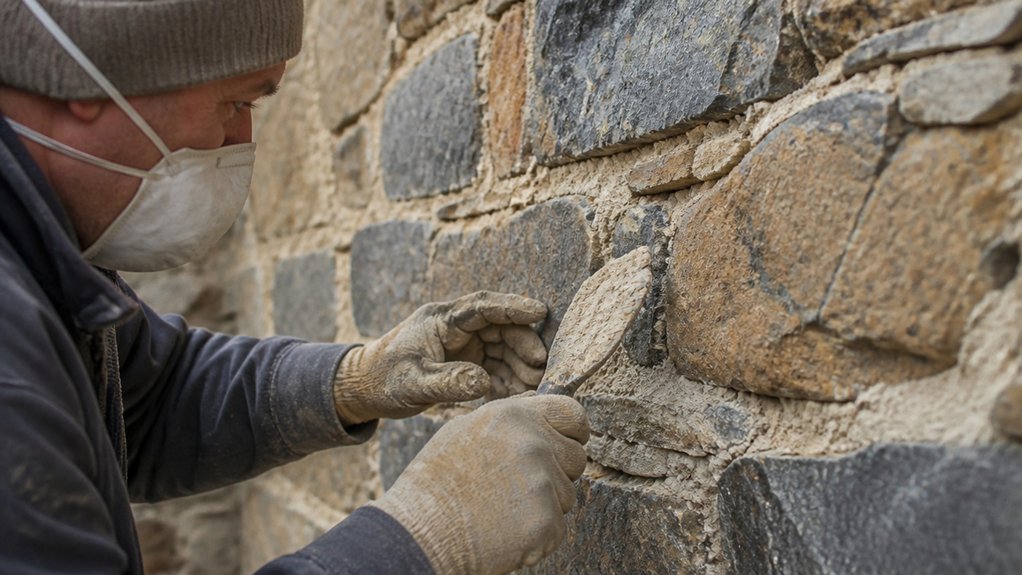
When mortar joints recede, crack, or loosen, water can reach the stone and cause damp patches or efflorescence. In Wyoming and across the Mountain West, freeze-thaw cycles can widen small defects, while snow, wind, and strong UV exposure add to the wear. Check several areas, not just the most visible spot, and look for loose mortar, open joints, or damage along stone edges.
We assess the joints carefully so we don’t chip or weaken the stone, then select a mortar compatible with the stone’s hardness, porosity, and existing mortar. A mortar that is too hard can damage softer stone as temperatures fluctuate. Repointing is done in stages: remove deteriorated mortar to a sound depth, clean the joints, dampen them as appropriate, and pack in the new mortar without leaving voids. Proper curing and protection from rapid drying, rain, and freezing are especially important in a cold, windy climate.
The extent of the damage, access, stone type, and mortar compatibility all affect whether repointing is a safe DIY task or one to leave to a mason. If stones are loose, cracking, or shifting, have the wall assessed before work begins; a structural engineer may be needed. Permit and inspection requirements vary by state and county. We’re the stone and marble masons at Bluestone Masonry & Construction, based in Casper, Wyoming, and we can help assess the work and carry it from quarry to completion.
Spot the Signs Your Stonework Needs Repointing
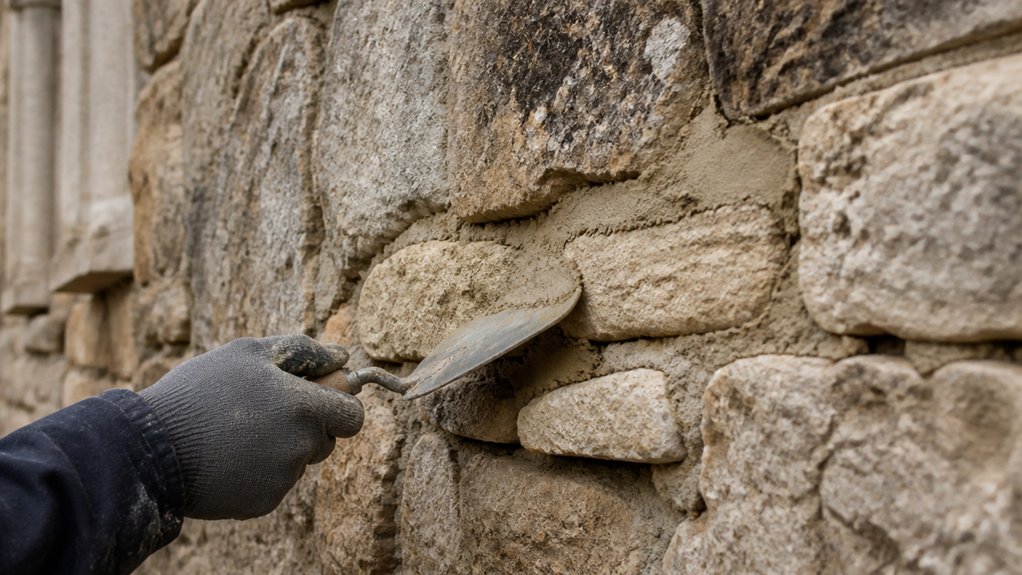
How can you tell when stonework needs repointing? Look for mortar that has receded behind the stone faces, is crumbling, or is missing. Cracked joints can mean the mortar has lost its bond or can no longer accommodate movement. You may also find loose mortar at the wall’s base, open joints that let water in, or damp patches after rain or snowmelt.
In Wyoming and across the Mountain West, water in open joints can freeze and expand, worsening damage over repeated freeze-thaw cycles. Wind-driven rain and snow can also push moisture into exposed corners and lower courses. Check several areas of the wall, not just one damaged spot.
A white, powdery deposit called efflorescence forms when moisture carries soluble salts to the surface. It doesn’t prove the mortar has failed, but efflorescence alongside eroded mortar or open joints calls for closer inspection. Stone types behave differently, so the replacement mortar should suit the stone and the original joint; mortar that’s too hard can damage softer stone. We recommend assessing the wall before repairs so the cause of the moisture is addressed, not just the visible symptoms.
Check Mortar Without Damaging Stone
Check mortar with a light touch before planning repairs. We use a wooden pick or another blunt tool to test loose joints; metal blades, grinders, and forceful scraping can chip stone edges. Probe only mortar that’s already loose, and note whether it crumbles, separates from the stone, or remains firm. Surface erosion alone doesn’t necessarily mean the joint has failed.
> Test only loose mortar gently with a blunt tool; surface erosion alone doesn’t mean the joint has failed.
Inspect stone faces and edges for cracks, flaking, movement, and damp patches, and photograph any changes. Different stones weather differently: some may flake or split along natural layers, while others show damage as cracking or surface loss. Rain, frost, and repeated wetting and drying can reveal weaknesses or temporarily affect moisture readings. In Wyoming and across the Mountain West, freeze-thaw cycles, wind, snow, and strong UV exposure can all influence how masonry performs.
Include your observations in a structural assessment, especially around openings, corners, and areas that carry loads. If stones shift or crack, stop probing and consult a qualified mason; a structural engineer may also be needed. Building permits, inspections, and code requirements vary by state and county.
As stone and marble masons based in Casper, Wyoming, we can assess the masonry and plan repairs that protect the stone. Our team has worked across Wyoming, Montana, Colorado, Idaho, Utah, Nebraska, and South Dakota since 2013, taking projects from quarry to completion—from sourcing and cutting stone to building and finishing interiors.
Choose Mortar for Stone Repointing
Choose a repointing mortar that works with the stone and the original joints—not simply the hardest mix available. We compare the existing mortar’s color, texture, aggregate size, and apparent strength, then consider the stone’s porosity and exposure. Sandstone and other softer, more porous stones can be damaged if a dense mortar traps moisture and forces it through the stone. A compatible mortar should allow moisture to escape through the joints.
For many historic walls, lime-based mortar accommodates movement and moisture better than a high-cement mix. But previous repairs matter: older cement mortar may affect how a new blend bonds and performs. In the Mountain West, repeated freeze-thaw cycles, snow, wind, and strong UV exposure make proper drainage and mortar compatibility especially important. Before repointing, have uncertain materials tested and ask a qualified conservation specialist to specify a mix suited to the masonry. We can help assess the stone and joints as part of a project, from sourcing and cutting stone through construction and finishing.
Repoint Stone Joints Step by Step
Once we’ve specified a mortar suited to the stone and prepared the joints, we repoint in controlled stages. We work methodically to match the existing joint profile, pack the mortar fully, and keep the stone clean.
- Lightly dampen the joints so dry masonry doesn’t draw moisture out of the fresh mortar too quickly. Avoid leaving standing water.
- Press mortar into the deepest parts of each joint with a pointing tool, packing it firmly to limit voids.
- For deep joints, build up the mortar in layers. Let each layer firm before adding the next, following the mortar manufacturer’s guidance.
- Finish the surface to match the adjacent joints, then protect the work from rapid drying, rain, and freezing conditions while it cures.
Lime and cement mortars cure differently and offer different levels of flexibility. The right choice depends on the stone, the existing masonry, and exposure. This matters in the Mountain West, where freeze-thaw cycles, wind, and strong sun can stress poorly packed or improperly cured joints. Follow the mortar manufacturer’s curing instructions, and consult a qualified masonry professional when the stone or existing mortar is uncertain.
Avoid Repointing Mistakes and Know When to Call a Pro
The wrong mortar can damage stone. Mortar that’s harder or less breathable than the original may trap moisture, increasing the risk of cracking or spalling during Mountain West freeze-thaw cycles. Different stones absorb and release moisture at different rates, so mortar selection should account for the stone, the existing joints, and the wall’s exposure to snow, wind, and sun.
Remove failed mortar carefully. Raking joints too deeply can loosen stones or damage their edges; removing too little leaves weak mortar that can undermine the repair. Don’t repoint dirty or saturated joints, or work when temperatures are too hot, too cold, or likely to change sharply. Follow the mortar manufacturer’s guidance for joint preparation, application, and curing.
Remove failed mortar carefully, prepare clean joints, and follow manufacturer guidance for application, curing, and weather conditions.
Before starting, we recommend this checklist:
- Match the new mortar’s composition, strength, and appearance to the existing masonry. For historic stonework, have a qualified professional assess the original materials before choosing a mix.
- Remove deteriorated mortar without widening joints or damaging stone.
- Clean out dust and debris, then dampen the joints as appropriate for the stone and mortar.
- Pack the mortar fully into the joints and cure it gradually, protecting fresh work from drying too quickly, freezing, or heavy weather.
- Wear eye, hand, and respiratory protection, and use tools suited to the stone.
Call a qualified mason if stones move, a wall bulges, cracks widen, or the work involves historic masonry. These signs may indicate a structural issue, not just failed mortar. A structural engineer or other licensed professional may need to assess the wall before repairs begin. Permit, inspection, and code requirements vary by state and county.
Frequently Asked Questions
How Long Does Repointing Typically Last?
Repointing typically lasts 20–50 years, but the actual service life depends on the mortar, workmanship, stone type, and exposure. In Wyoming and other Mountain West climates, freeze-thaw cycles, wind, snow, and strong UV can speed up mortar deterioration, especially where water collects or drainage is poor. We recommend checking joints regularly for cracks, gaps, or erosion and repairing them before moisture reaches the stonework. Using mortar suited to both the stone and the existing masonry helps protect the wall without causing avoidable damage.
What Time of Year Is Best for Repointing Stonework?
We recommend repointing stonework in spring or early fall, when temperatures are moderate and conditions are more predictable. Mortar needs time to cure without drying too quickly or freezing, so plan for a dry stretch with frost-free days and nights. Rain can wash fresh mortar from the joints, while heat, strong wind, and high-altitude sun can draw out moisture too quickly. In Wyoming and across the Mountain West, check the forecast carefully and protect the work from rain, wind, and overnight cold as needed. We assess the stone and existing mortar before choosing a mix and timing the work, since different stones respond differently to moisture and freeze-thaw cycles.
How Much Does Professional Stone Repointing Usually Cost?
Professional stone repointing costs vary with the amount of damaged mortar, joint depth and width, stone type, and access to the wall. We inspect the masonry before recommending a mortar: a mix that is too hard can damage softer stone, while a mix that is too weak may not hold up to weather. In Wyoming and the surrounding Mountain West, freeze-thaw cycles, wind, snow, and sun exposure also matter. Ask for an itemized estimate that explains the repair scope, mortar choice, preparation, and any access equipment needed.
Do I Need Planning Permission to Repoint a Historic Building?
Planning permission may be required to repoint a historic building, particularly if it is listed or in a conservation area. Before work begins, we recommend checking with your local planning or preservation office; permit and review requirements vary by state and county. The mortar type, joint profile, and removal method also matter: hard cement mortar can damage softer historic masonry, so the replacement should be compatible with the stone or brick. Choose a season that allows the mortar to cure before freezing weather, and protect the work from rain, wind, and direct sun. Proper preparation and curing help the repair last and can affect overall cost.
How Long Should Repointed Stonework Cure Before Painting or Sealing?
We recommend waiting at least 28 days before painting or sealing repointed stonework. Lime mortar often needs longer, and cool, damp weather can slow curing. Before finishing, we assess the stone and mortar to confirm that the proposed coating is suitable; some sealers can trap moisture and contribute to freeze-thaw damage in Mountain West conditions. We also consider the forecast, since snow, wind, and temperature swings can affect the work and its cure.