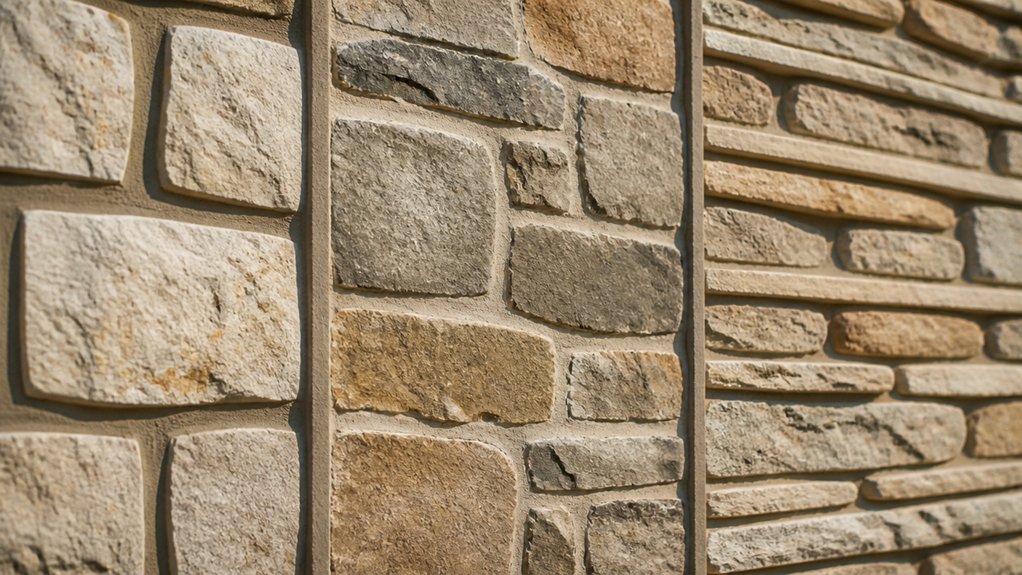
When we choose a mortar joint, we shape more than the gap between stones: the profile affects the wall’s texture, visual weight, and ability to shed water. A flush joint sits level with the stone face and is generally easier to clean. Tooled or recessed joints create stronger shadow lines, but deeper recesses can collect snow and moisture and leave mortar more exposed to weather.
The right profile depends on the stone’s density, surface, and exposure. Dense granite and many hard limestones handle weather differently from more porous stone, which can absorb water and be more vulnerable to freeze-thaw damage. We select a compatible mortar and joint depth, then tool the joint at the right stage of curing so it bonds well and drains as intended. In Wyoming and across the Mountain West, we also account for wind-driven rain, snow, UV exposure, and elevation. Regularly check joints for cracks or gaps and repair them before water gets behind the stone.
What Are the Common Mortar Joint Styles?
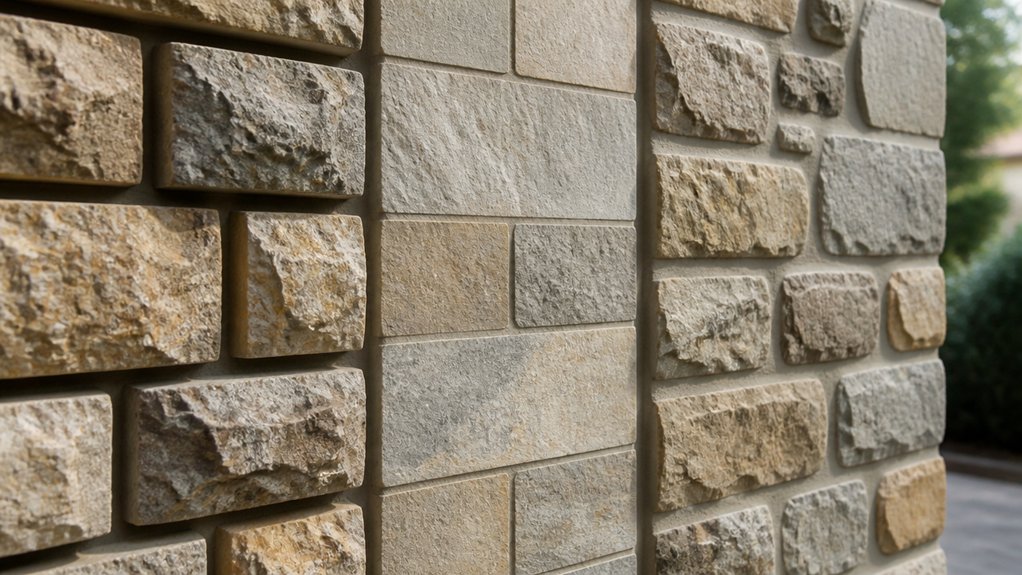
What’re the common mortar joint styles?
Mortar joint styles describe how we shape and finish the mortar between stones. The profile affects the wall’s appearance, how well it sheds water, and how it stands up to weather. In Wyoming and across the Mountain West, freeze-thaw cycles, wind, snow and strong UV exposure make sound joint design and workmanship especially important.
A well-shaped mortar joint enhances a stone wall’s appearance and helps it withstand Wyoming’s demanding weather.
Common profiles include:
- Flush: Mortar finishes even with the stone face. It gives the wall a simple, even look, but can leave mortar more exposed to weather.
- Concave: A jointing tool presses the mortar inward, creating a smooth, compact surface. This profile sheds water well and is a practical choice for many exterior walls.
- Weathered: Mortar slopes down and outward from the top of the joint, helping water drain away from the masonry.
- Raked: Mortar is recessed behind the stone face. The shadow lines can emphasize the stone, but the recess may collect water and snow, so it’s generally less suitable for exposed exterior walls in a cold climate.
- Struck: The joint slopes inward from the top edge to the bottom edge. Its performance depends on the exact profile and exposure; poor shaping can direct water into the wall.
- V-joint: A narrow groove forms a crisp line between stones. It can suit carefully detailed masonry, though the groove needs sound tooling and maintenance to limit water entry.
- Beaded: Mortar projects slightly from the joint. It creates a pronounced outline, but the exposed edge can be vulnerable to weathering or damage.
Stone type matters, too. Irregular fieldstone and rough-cut stone need joints shaped to suit their varied faces, while more uniform stone can take a consistent profile. Marble and other dense, smooth stones may show mortar stains, so careful mixing, placement and cleanup are essential. Mortar should be compatible with the stone; a mix that’s too hard can damage softer masonry, while one that’s too weak may not hold up to exposure.
We choose a joint profile based on the stone, mortar, wall design and site conditions—not appearance alone. Proper joint depth, tooling and curing help limit water penetration and support durability through freeze-thaw cycles. Inspect joints periodically for cracks, gaps or loose mortar, and use compatible materials for repairs. Historic masonry may require a profile and mortar suited to its original construction.
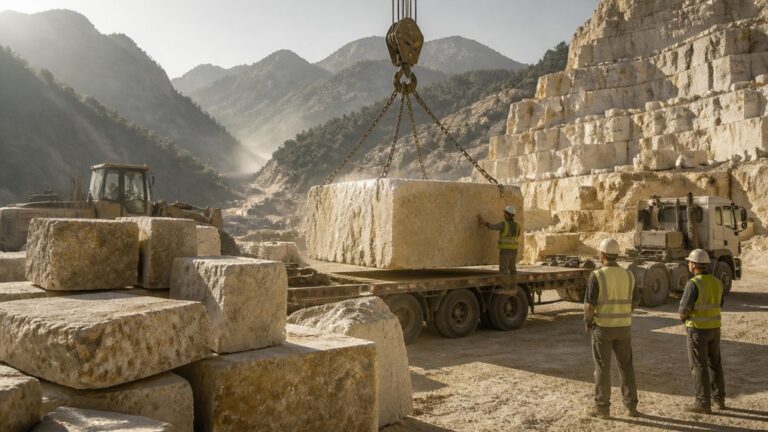
We take stone projects from quarry to completion, including sourcing and cutting stone, building and finishing interiors. For structural work or projects subject to local requirements, permits, inspections, building codes or a licensed professional such as a structural engineer may be required. Requirements vary by state and county.
How Do Mortar Joint Styles Change a Wall’s Look?
Mortar joint profiles change how we read a stone wall. Recessed joints set the stones apart and cast stronger shadows, giving the wall a more rugged, dimensional look. Flush joints create a flatter, more continuous surface, while lightly concave joints offer a subtle definition without making the mortar the main feature.
Joint depth also affects performance. Deep recesses expose more stone edges and can leave mortar more vulnerable to weathering, especially where wind-driven rain, snow, and freeze-thaw cycles are common. A shallow, well-tooled joint generally sheds water more effectively, but the right profile depends on the stone, wall design, and exposure. Softer stones, such as some limestones, may need particular care during tooling to avoid damaging their edges; harder stones like granite can tolerate more forceful finishing.
Mortar color matters, too. A close match blends the joints into the stonework, while a contrasting color emphasizes the pattern and individual units. We consider the stone’s natural variation, the wall’s exposure to strong Mountain West sun, and how the color will look as the mortar ages. As stone and marble masons, we help select a profile and mortar color that suit the material and site conditions, then install and finish the joints to support both the intended appearance and long-term durability.
How Do You Choose a Joint for Your Stone?
We choose a joint by looking at the stone’s type, shape, surface, and durability, then matching the mortar and joint profile to the wall’s purpose and exposure. Dense granite and quartzite can generally tolerate firmer mortar than softer stones such as limestone or some sandstones. Mortar that’s too hard can trap stress and damage the stone, so we select a compatible mix rather than simply choosing the strongest one.
Joint width and depth affect both appearance and performance. A recessed joint can emphasize the stone faces, but deep recesses may collect water and snow. A flush or slightly tooled joint sheds water more effectively when detailed correctly. For exterior work in the Mountain West, we also account for freeze-thaw cycles, wind-driven moisture, UV exposure, and snow load. Sound drainage, suitable mortar, and careful installation matter as much as the joint’s appearance.
We compare mortar color samples with dry stone in natural light and build a small test panel to check the finished look and tooling. We also consider how the wall will be cleaned and maintained. As a stone and marble masonry team based in Casper, Wyoming, we take projects from quarry to completion—from sourcing and cutting stone to building and finishing interiors. For work involving structural loads or code requirements, permits, inspections, and licensed professionals such as structural engineers may be required; requirements vary by state and county.
Which Joint Profiles Suit Different Stone Types?
Once we’ve chosen a mortar compatible with the stone, we match the joint profile to the stone’s shape, surface, and exposure. For irregular rubble, a flush or slightly recessed joint keeps the stone’s texture visible and avoids deep pockets where snow and water can collect. With rough-cut sandstone, a carefully tooled concave joint can define uneven edges and shed water, but the mortar must be compatible with the stone’s porosity and strength. A joint that’s too hard can damage softer sandstone as the wall moves through freeze-thaw cycles.
Smooth, squared blocks generally suit narrow, flush joints that emphasize clean geometry. Dense limestone can take a crisp, lightly recessed profile that clarifies the masonry pattern; avoid recessing it so far that the joint becomes a ledge for water or ice. In exposed Mountain West settings, we also consider wind-driven rain, snow load, altitude, and strong UV when selecting mortar and detailing the wall. For a subtle finish, choose a mortar color close to the stone and avoid broad, projecting joints that can overpower the surface or catch weather. Proper joint tooling and drainage details help limit moisture problems and make future maintenance more straightforward.
How Does Joint Shape Affect Durability and Care?
Joint shape affects how well mortar sheds water and stands up to weather. We choose a profile based on the stone, wall exposure, and project conditions. In Wyoming and across the Mountain West, snow, wind, strong UV exposure, and repeated freeze-thaw cycles make sound detailing and regular maintenance especially important.
- Concave joints compress mortar firmly against the stone and shed water well. They’re a durable choice for many exposed walls when installed with mortar suited to the stone.
- V-shaped joints can direct water away from the joint, but their narrow grooves may collect dust and debris. Brush them clean and check that water can drain freely.
- Flush joints create a level surface and can work well on sheltered walls. On exposed masonry, they may hold water against the stone if the finish or surrounding details don’t shed it effectively.
- Raked joints leave mortar recessed and expose more joint edges to weather. That can increase moisture entry and freeze-thaw damage, so we generally avoid them on highly exposed walls and inspect them closely where they’re already present.
Stone type matters, too. Dense stone and more porous stone absorb and release moisture differently, so the mortar and joint profile should be compatible with the material. We recommend checking joints at least once a year, clearing debris from drainage paths, and addressing cracked, loose, or deeply recessed mortar before water can enter the wall. Repointing should use mortar appropriate to the stone and existing masonry; a mix that’s too hard can damage softer stone.
Frequently Asked Questions
How Long Should Mortar Cure Before Sealing?
We recommend waiting at least 28 days before sealing mortar. That gives the mortar time to cure and helps prevent the sealer from trapping moisture, which can contribute to damage during freeze-thaw cycles. Conditions such as temperature, humidity, and exposure to wind or sun can affect drying time, so check the sealer manufacturer’s instructions and make sure the joints are fully dry before applying it.
Can Damaged Mortar Joints Be Repaired Without Replacing Stones?
Yes. In many cases, we can repair damaged mortar joints without replacing the stone. We first check whether the damage is limited to the joints or whether stones have shifted, cracked, or loosened. We also identify the stone and existing mortar: softer stone, such as sandstone, can be damaged by mortar that is too hard, while granite and other dense stones may need a different joint profile and repair approach.
We remove loose mortar carefully, without chipping the stone, then repoint with a compatible mortar suited to the masonry and local exposure. In Wyoming and across the Mountain West, freeze-thaw cycles, wind-driven moisture, snow, altitude, and strong UV can all affect how joints perform. Proper joint depth, mortar selection, and curing conditions matter; sealing is not always appropriate and should be considered only after the masonry has cured and its moisture behavior is understood.
If the stones are moving or the wall may be structurally compromised, repointing alone will not solve the problem. We recommend having the wall assessed before work begins. Permit, inspection, and code requirements vary by state and county, and structural concerns may require a licensed professional.
How Often Should Stone Mortar Joints Be Inspected?
We recommend inspecting stone mortar joints at least once a year, then checking them again after severe weather, unusual snow loads, or nearby construction. In Wyoming and the surrounding Mountain West, freeze-thaw cycles, wind-driven moisture, and strong UV exposure can speed up wear.
Look for cracks, gaps, recessed or eroded mortar, and joints that feel loose or crumble when gently probed. Pay close attention to areas that stay wet or collect snow, since trapped moisture can freeze and damage both mortar and stone. If you find deterioration, we can assess the joints and recommend suitable repairs; historic masonry may need more frequent inspections to catch problems early.
What Causes Mortar Joints to Crack or Crumble?
Mortar joints crack or crumble when moisture, freeze-thaw cycles, poor mixing, incompatible materials, or building movement weaken the bond. In Wyoming and across the Mountain West, snow, wind-driven rain, strong UV exposure, and rapid temperature changes can speed deterioration. We look at the crack pattern, mortar condition, drainage, and surrounding stone before recommending a repair. Repointing with mortar that suits the masonry is essential: mortar that is too hard can damage softer stone, while mortar that is too weak may wear away prematurely. Prompt repairs and well-managed drainage help limit further damage. If cracking suggests structural movement, consult a qualified professional; permits, inspections, and code requirements vary by location.
Should Mortar Color Be Tested Before Repointing?
Yes. We recommend testing mortar color before repointing. Mortar often dries lighter or changes tone as it cures, so compare fully cured sample joints with the existing mortar in both direct sun and shade. Check the mix for compatibility with the masonry, too: mortar that is too hard can damage softer stone or brick, while a mix that is too weak may not hold up to weather. In Wyoming and the Mountain West, choose a mortar suited to local freeze-thaw conditions, and confirm the color and mix before work begins.